> ## Documentation Index
> Fetch the complete documentation index at: https://docs.altnautica.com/llms.txt
> Use this file to discover all available pages before exploring further.
# SITL Testing
> Test with ArduPilot SITL using the bundled WebSocket bridge.
SITL (Software In The Loop) lets you test Mission Control against a full ArduPilot autopilot running on your computer. No drone hardware needed. The bundled SITL tool launches ArduPilot SITL and bridges its TCP output to a WebSocket that the browser can connect to.
 ## What SITL Provides
* **Real ArduPilot code.** Not a mock or simulation. The same firmware that runs on flight controllers runs on your machine with physics simulation.
* **Full MAVLink.** Every MAVLink message, parameter, and command works exactly as it would on real hardware.
* **Physics engine.** Simulated flight dynamics for copter, plane, rover, and sub vehicles.
* **No fake data.** Unlike demo mode (which uses mock telemetry), SITL runs the actual autopilot.
## Prerequisites
SITL requires ArduPilot built from source on your machine.
```bash theme={"theme":{"light":"github-light","dark":"github-dark"}}
git clone --recurse-submodules https://github.com/ArduPilot/ardupilot.git ~/.ardupilot
```
Follow the [ArduPilot build instructions](https://ardupilot.org/dev/docs/building-setup-linux.html) for your OS. On macOS:
```bash theme={"theme":{"light":"github-light","dark":"github-dark"}}
cd ~/.ardupilot
Tools/environment_install/install-prereqs-mac.sh
```
On Ubuntu/Debian:
```bash theme={"theme":{"light":"github-light","dark":"github-dark"}}
cd ~/.ardupilot
Tools/environment_install/install-prereqs-ubuntu.sh -y
```
```bash theme={"theme":{"light":"github-light","dark":"github-dark"}}
cd ~/.ardupilot
./waf configure --board sitl
./waf copter
```
This builds ArduCopter for the SITL target. You can also build `plane`, `rover`, or `sub`.
## Using the SITL Tool
The SITL tool lives at `tools/sitl/` inside the Mission Control repo.
```bash theme={"theme":{"light":"github-light","dark":"github-dark"}}
cd ADOSMissionControl/tools/sitl
npm install
npx tsx src/index.ts
```
By default, this launches ArduCopter SITL and starts a WebSocket bridge on port 5760.
Open Mission Control in your browser. Click Connect, select the WebSocket tab, and enter:
```
ws://localhost:5760
```
Click Connect. You should see a simulated copter appear with full telemetry.
The SITL drone behaves like a real ArduPilot vehicle:
* Arm and takeoff
* Change flight modes
* Upload and execute missions
* Configure parameters
* Run calibrations
## Configuration Options
The SITL tool accepts command-line flags:
| Flag | Default | Description |
| ---------------- | ---------------- | ------------------------------------------------------- |
| `--drones` | `1` | Number of drone instances to launch |
| `--ws-port` | `5760` | WebSocket bridge port for the GCS |
| `--vehicle` | `ArduCopter` | Vehicle type: ArduCopter, ArduPlane, ArduRover, ArduSub |
| `--lat` | (home latitude) | Home latitude in decimal degrees |
| `--lon` | (home longitude) | Home longitude in decimal degrees |
| `--speedup` | `1` | Simulation speed multiplier |
| `--wind` | (none) | Wind as `speed,direction` (e.g. `5,180`) |
| `--ardupilot` | `~/.ardupilot` | Path to the ArduPilot source directory |
| `--no-dashboard` | off | Disable the terminal dashboard UI |
**Examples:**
```bash theme={"theme":{"light":"github-light","dark":"github-dark"}}
# Start a plane simulation
npx tsx src/index.ts --vehicle ArduPlane
# Start at a custom home location
npx tsx src/index.ts --lat 37.7749 --lon -122.4194
# Run at 2x speed
npx tsx src/index.ts --speedup 2
# Use a different WebSocket port
npx tsx src/index.ts --ws-port 5761
# Launch three drones at once
npx tsx src/index.ts --drones 3
```
## How the Bridge Works
ArduPilot SITL speaks MAVLink over TCP (default port 5760). Browsers cannot connect to raw TCP sockets. The SITL tool bridges this gap:
```
ArduPilot SITL (TCP :5760) -> Bridge (Node.js) -> WebSocket :5760 -> Browser
```
The bridge is a thin relay. It connects to SITL's TCP port, opens a WebSocket server, and forwards binary MAVLink frames in both directions. No parsing, no modification. What goes in comes out.
## Multi-Drone SITL
For multi-drone testing, pass `--drones N`. The tool launches multiple SITL instances, each with a unique system ID, and the bridge multiplexes all of them onto a single WebSocket port:
```bash theme={"theme":{"light":"github-light","dark":"github-dark"}}
# Three copters on one bridge
npx tsx src/index.ts --drones 3
```
In Mission Control, connect once to `ws://localhost:5760`. The GCS demultiplexes by system ID from the HEARTBEAT messages, and all three drones appear in the fleet sidebar.
## Testing Missions
SITL is ideal for testing missions before flying:
1. Plan a mission in the Plan tab.
2. Upload it to the SITL drone.
3. Switch to Auto mode.
4. Watch the simulated drone fly the mission.
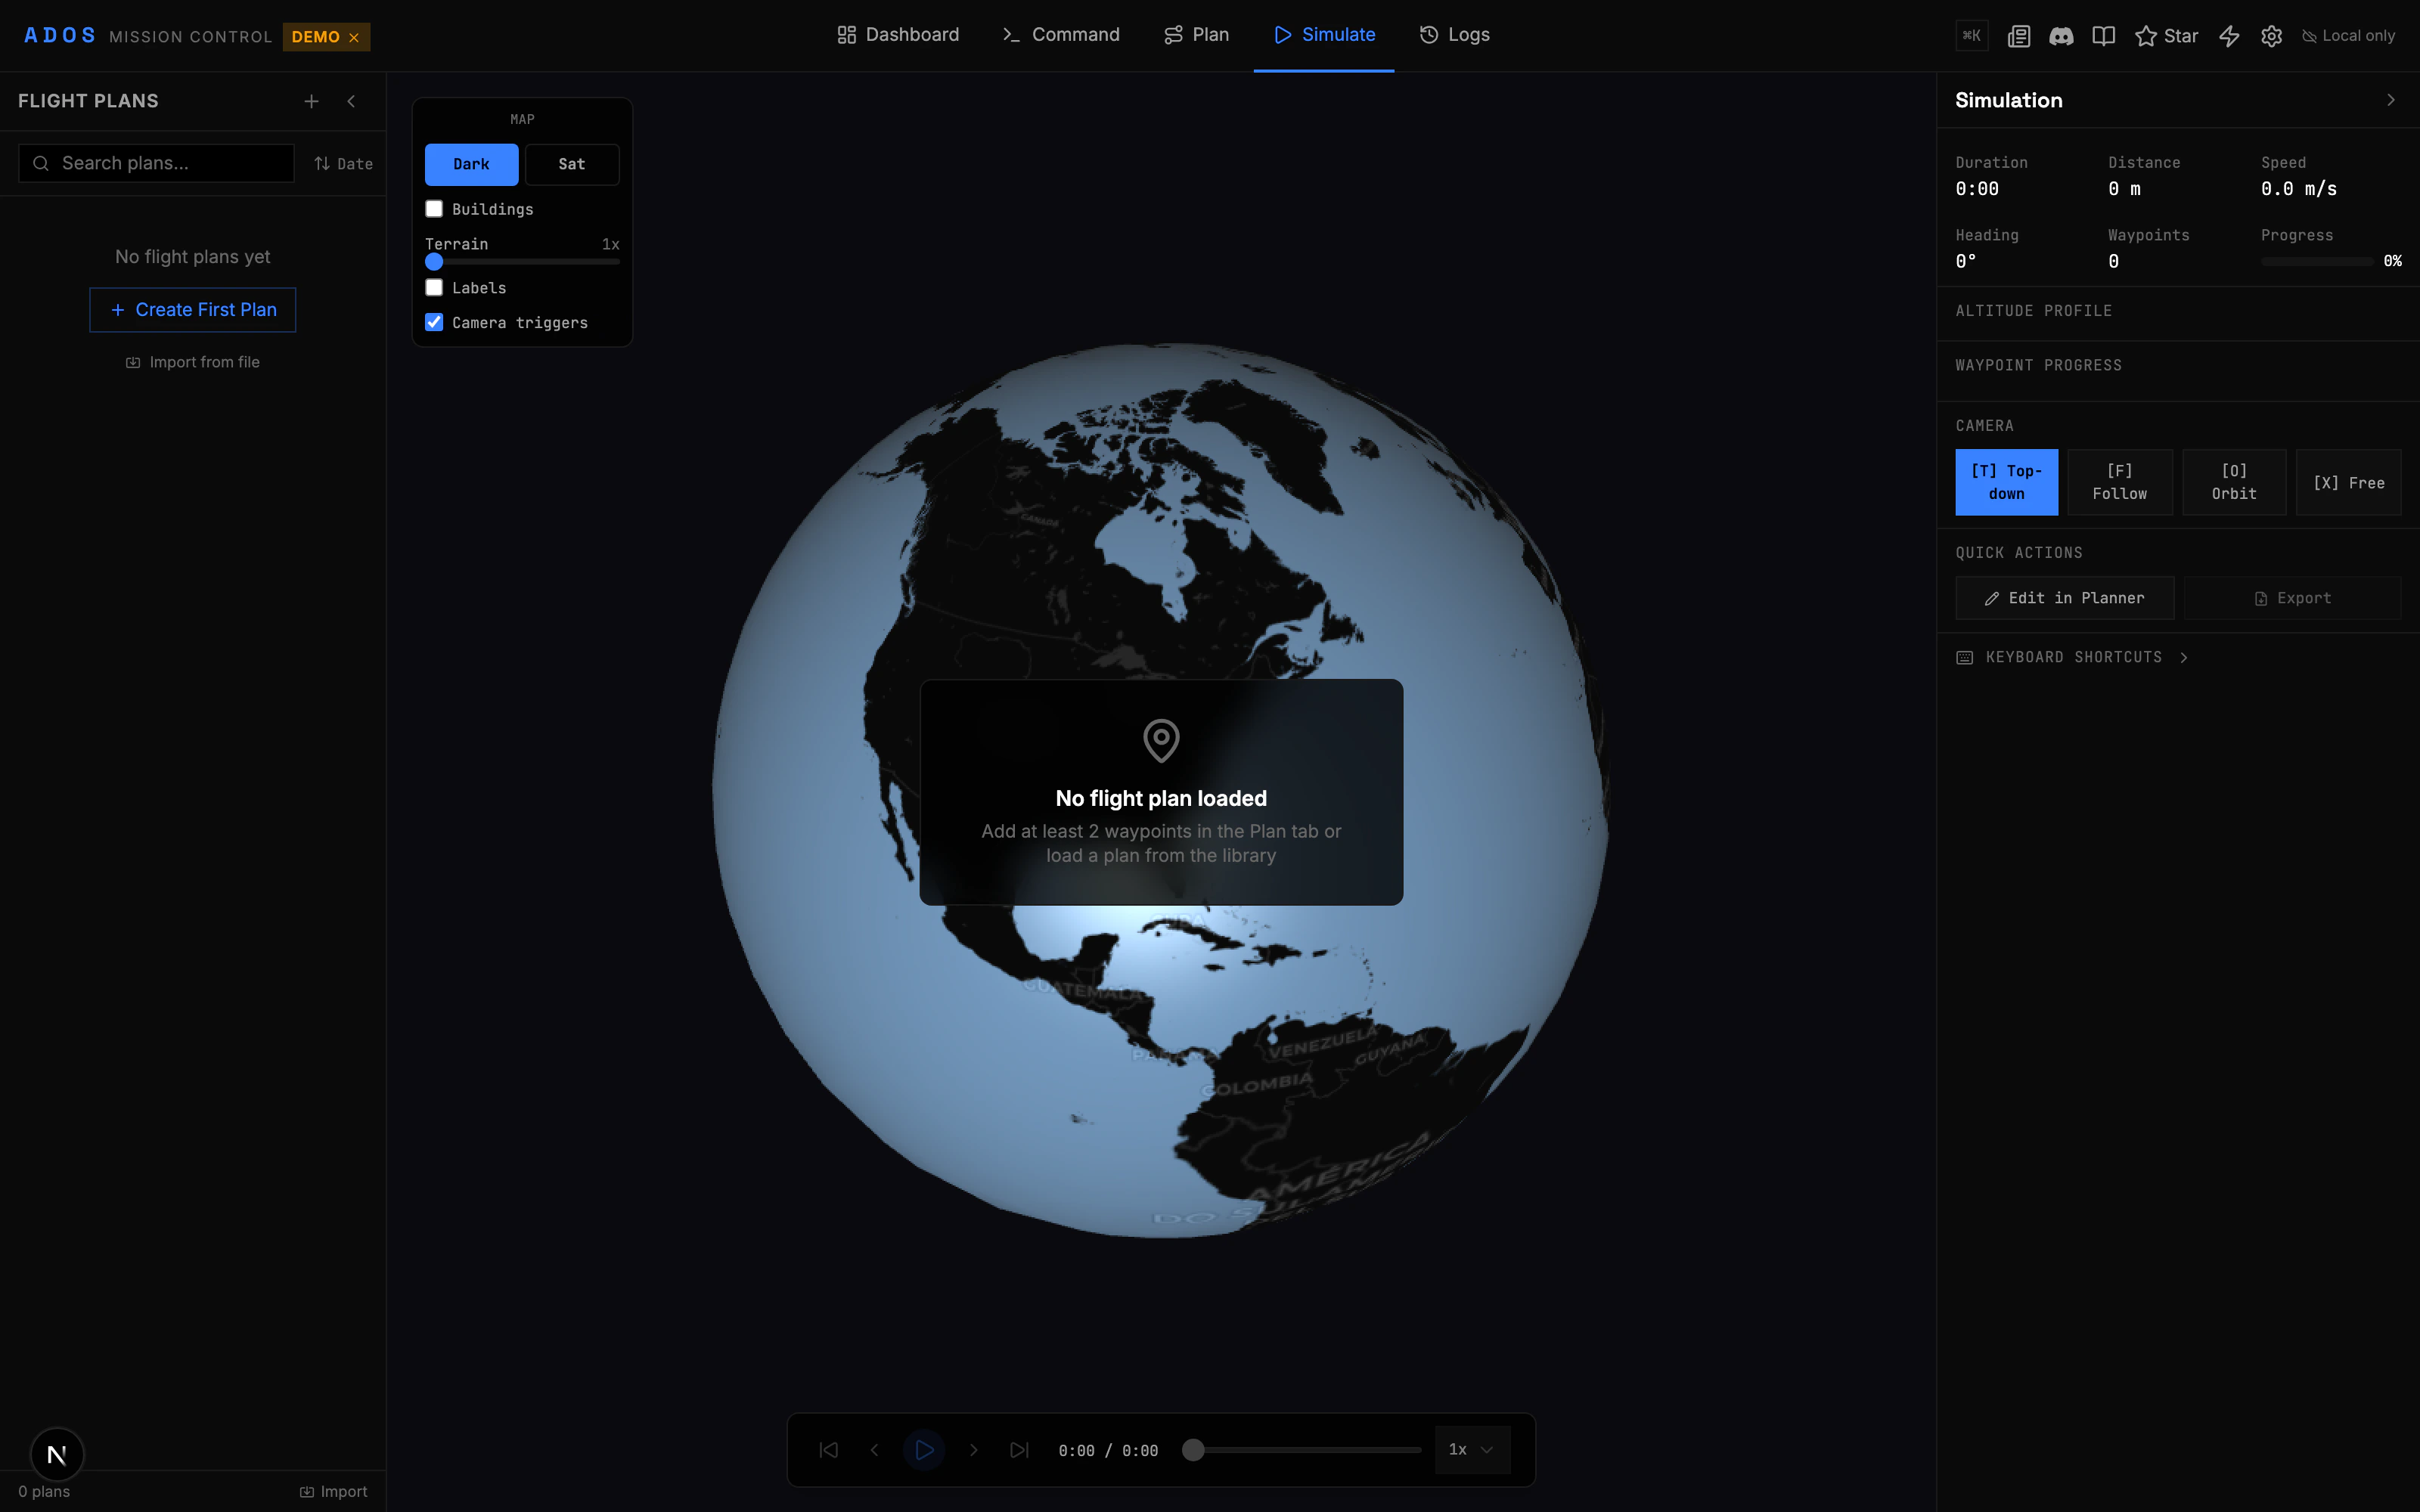
5. Check the 3D simulation view for the flight path.
The physics engine simulates wind, battery discharge, and sensor noise, giving you a realistic preview of how the mission will execute.
## Testing Configuration
All configuration panels work with SITL:
* Read and write parameters
* Calibrate sensors (simulated sensor data)
* Configure failsafes and test triggers
* Set up geofences and test breach behavior
* Configure flight modes and switch between them
## Automated Testing
The SITL tool also serves as a backend for browser automation. A Playwright test can start a SITL instance, point the browser at the bridge, and exercise the full GCS workflow end to end: connect, read parameters, upload a mission, arm, take off, fly, and land. Because SITL runs the real autopilot, these runs catch protocol and timing issues that mock telemetry would hide.
## Troubleshooting
The tool looks for ArduPilot at `~/.ardupilot` by default. If you installed it elsewhere, point at it with the `--ardupilot` flag. Make sure you have built the correct vehicle type (`./waf copter`, `./waf plane`, etc.).
Check that the SITL tool is running and the port is not in use by another process. Run `lsof -i :5760` to check.
SITL may take a few seconds to initialize. Wait for the "APM: Ready to fly" message in the SITL output. If telemetry still does not appear, check that the TCP bridge connected successfully (look for "Connected to SITL" in the tool output).
The default SITL configuration may have conservative parameters. Make sure GPS is locked (SITL simulates GPS fix after a few seconds). Try arming in Stabilize mode first, then switching to Loiter or Auto after takeoff.
## What SITL Provides
* **Real ArduPilot code.** Not a mock or simulation. The same firmware that runs on flight controllers runs on your machine with physics simulation.
* **Full MAVLink.** Every MAVLink message, parameter, and command works exactly as it would on real hardware.
* **Physics engine.** Simulated flight dynamics for copter, plane, rover, and sub vehicles.
* **No fake data.** Unlike demo mode (which uses mock telemetry), SITL runs the actual autopilot.
## Prerequisites
SITL requires ArduPilot built from source on your machine.
```bash theme={"theme":{"light":"github-light","dark":"github-dark"}}
git clone --recurse-submodules https://github.com/ArduPilot/ardupilot.git ~/.ardupilot
```
Follow the [ArduPilot build instructions](https://ardupilot.org/dev/docs/building-setup-linux.html) for your OS. On macOS:
```bash theme={"theme":{"light":"github-light","dark":"github-dark"}}
cd ~/.ardupilot
Tools/environment_install/install-prereqs-mac.sh
```
On Ubuntu/Debian:
```bash theme={"theme":{"light":"github-light","dark":"github-dark"}}
cd ~/.ardupilot
Tools/environment_install/install-prereqs-ubuntu.sh -y
```
```bash theme={"theme":{"light":"github-light","dark":"github-dark"}}
cd ~/.ardupilot
./waf configure --board sitl
./waf copter
```
This builds ArduCopter for the SITL target. You can also build `plane`, `rover`, or `sub`.
## Using the SITL Tool
The SITL tool lives at `tools/sitl/` inside the Mission Control repo.
```bash theme={"theme":{"light":"github-light","dark":"github-dark"}}
cd ADOSMissionControl/tools/sitl
npm install
npx tsx src/index.ts
```
By default, this launches ArduCopter SITL and starts a WebSocket bridge on port 5760.
Open Mission Control in your browser. Click Connect, select the WebSocket tab, and enter:
```
ws://localhost:5760
```
Click Connect. You should see a simulated copter appear with full telemetry.
The SITL drone behaves like a real ArduPilot vehicle:
* Arm and takeoff
* Change flight modes
* Upload and execute missions
* Configure parameters
* Run calibrations
## Configuration Options
The SITL tool accepts command-line flags:
| Flag | Default | Description |
| ---------------- | ---------------- | ------------------------------------------------------- |
| `--drones` | `1` | Number of drone instances to launch |
| `--ws-port` | `5760` | WebSocket bridge port for the GCS |
| `--vehicle` | `ArduCopter` | Vehicle type: ArduCopter, ArduPlane, ArduRover, ArduSub |
| `--lat` | (home latitude) | Home latitude in decimal degrees |
| `--lon` | (home longitude) | Home longitude in decimal degrees |
| `--speedup` | `1` | Simulation speed multiplier |
| `--wind` | (none) | Wind as `speed,direction` (e.g. `5,180`) |
| `--ardupilot` | `~/.ardupilot` | Path to the ArduPilot source directory |
| `--no-dashboard` | off | Disable the terminal dashboard UI |
**Examples:**
```bash theme={"theme":{"light":"github-light","dark":"github-dark"}}
# Start a plane simulation
npx tsx src/index.ts --vehicle ArduPlane
# Start at a custom home location
npx tsx src/index.ts --lat 37.7749 --lon -122.4194
# Run at 2x speed
npx tsx src/index.ts --speedup 2
# Use a different WebSocket port
npx tsx src/index.ts --ws-port 5761
# Launch three drones at once
npx tsx src/index.ts --drones 3
```
## How the Bridge Works
ArduPilot SITL speaks MAVLink over TCP (default port 5760). Browsers cannot connect to raw TCP sockets. The SITL tool bridges this gap:
```
ArduPilot SITL (TCP :5760) -> Bridge (Node.js) -> WebSocket :5760 -> Browser
```
The bridge is a thin relay. It connects to SITL's TCP port, opens a WebSocket server, and forwards binary MAVLink frames in both directions. No parsing, no modification. What goes in comes out.
## Multi-Drone SITL
For multi-drone testing, pass `--drones N`. The tool launches multiple SITL instances, each with a unique system ID, and the bridge multiplexes all of them onto a single WebSocket port:
```bash theme={"theme":{"light":"github-light","dark":"github-dark"}}
# Three copters on one bridge
npx tsx src/index.ts --drones 3
```
In Mission Control, connect once to `ws://localhost:5760`. The GCS demultiplexes by system ID from the HEARTBEAT messages, and all three drones appear in the fleet sidebar.
## Testing Missions
SITL is ideal for testing missions before flying:
1. Plan a mission in the Plan tab.
2. Upload it to the SITL drone.
3. Switch to Auto mode.
4. Watch the simulated drone fly the mission.
5. Check the 3D simulation view for the flight path.
The physics engine simulates wind, battery discharge, and sensor noise, giving you a realistic preview of how the mission will execute.
## Testing Configuration
All configuration panels work with SITL:
* Read and write parameters
* Calibrate sensors (simulated sensor data)
* Configure failsafes and test triggers
* Set up geofences and test breach behavior
* Configure flight modes and switch between them
## Automated Testing
The SITL tool also serves as a backend for browser automation. A Playwright test can start a SITL instance, point the browser at the bridge, and exercise the full GCS workflow end to end: connect, read parameters, upload a mission, arm, take off, fly, and land. Because SITL runs the real autopilot, these runs catch protocol and timing issues that mock telemetry would hide.
## Troubleshooting
The tool looks for ArduPilot at `~/.ardupilot` by default. If you installed it elsewhere, point at it with the `--ardupilot` flag. Make sure you have built the correct vehicle type (`./waf copter`, `./waf plane`, etc.).
Check that the SITL tool is running and the port is not in use by another process. Run `lsof -i :5760` to check.
SITL may take a few seconds to initialize. Wait for the "APM: Ready to fly" message in the SITL output. If telemetry still does not appear, check that the TCP bridge connected successfully (look for "Connected to SITL" in the tool output).
The default SITL configuration may have conservative parameters. Make sure GPS is locked (SITL simulates GPS fix after a few seconds). Try arming in Stabilize mode first, then switching to Loiter or Auto after takeoff.