

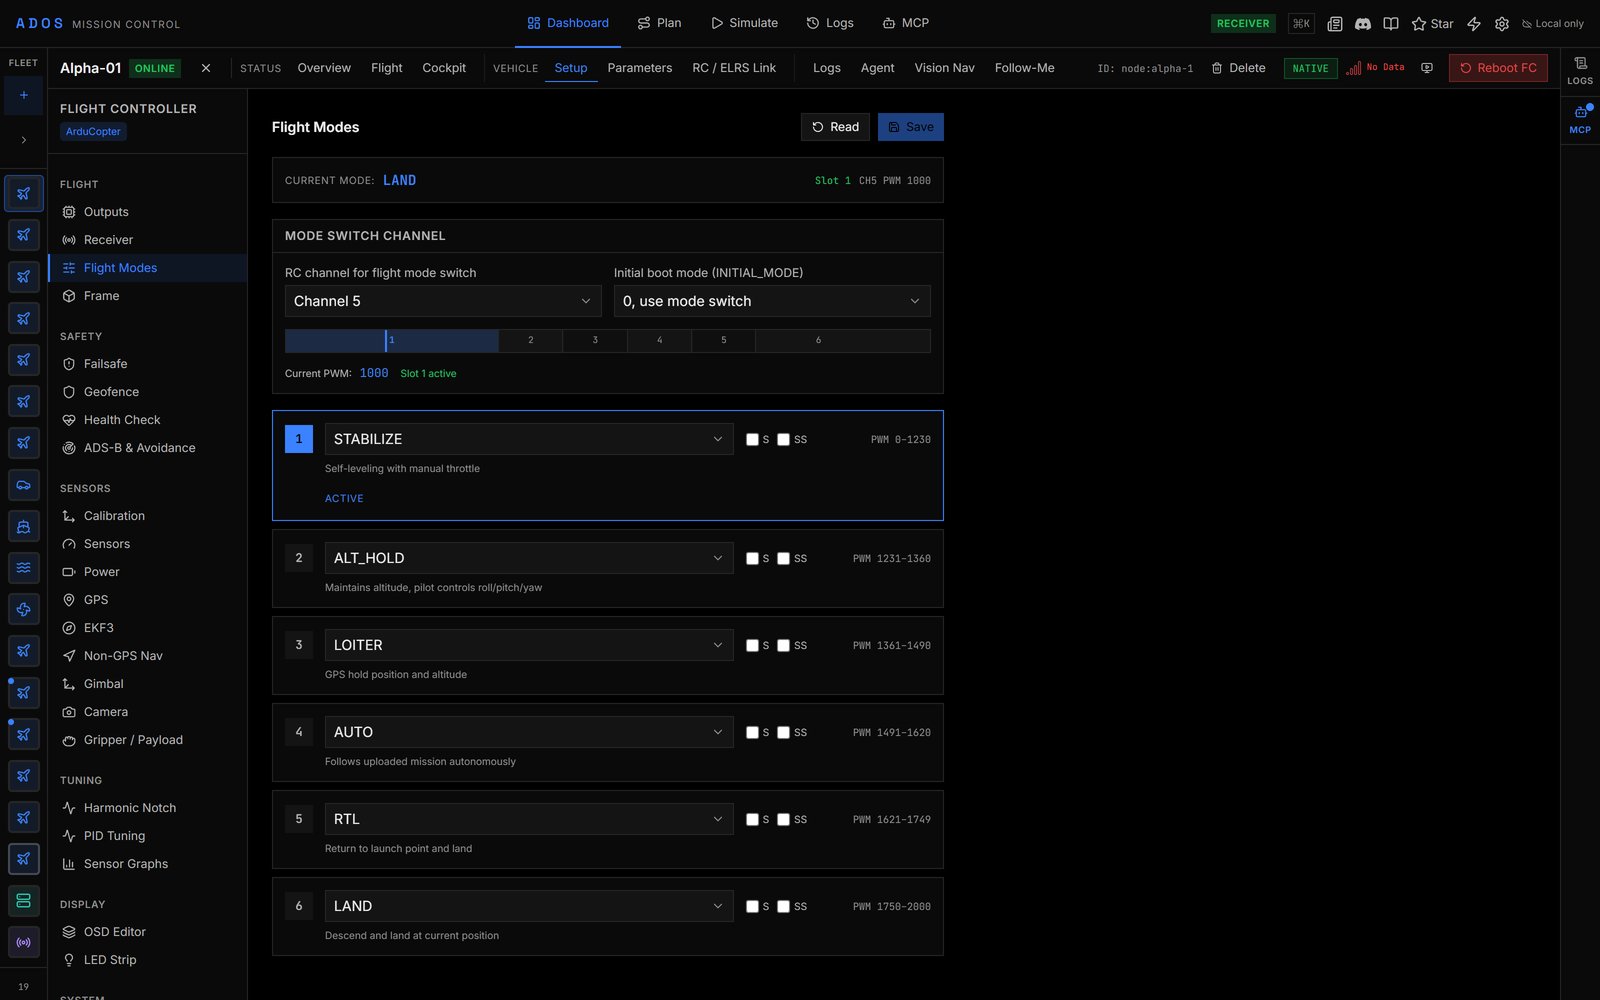
Setup tab with Flight Modes open on a landed, disarmed ArduPilot copter.
How panels work
- Read from FC loads the panel’s parameters. Refresh reloads them.
- Edit values. Changed values are highlighted, and leaving a panel with unsaved changes asks first.
- Save writes the changes to the flight controller.
- Write to Flash stores them across reboots. ArduPilot and PX4 already store each parameter as it is written; Betaflight and iNav need the explicit save.
Ctrl is ⌘ on macOS.
While the aircraft is armed
Each panel shows an amber banner: Vehicle is armed. Parameter changes write live, so review before saving. Parameter writes still work, but each write opens a Vehicle is armed dialog listing the parameters; click Write Anyway to send them. A small set of controls is disabled while the aircraft is armed, and stays disabled until the flight controller reports it is disarmed: motor and servo tests, ESC calibration, every sensor and RC calibration start, frame-class changes and reset to defaults. The disabled control says why.Panels by section
Panel names below are the sidebar labels. A firmware note means the panel appears only there.FLIGHT
SAFETY
SENSORS
TUNING
DISPLAY
SYSTEM
SECURITY
DEBUG
PROGRAMMING
Panels contributed by installed extensions appear in an EXTENSIONS section.
Parameters is its own node tab, not a Setup panel. See Parameters.
How a panel is chosen
Each panel can declare up to five gates, and all must pass:- a firmware capability (for example MAVLink signing support),
- the vehicle classes it applies to (copter, plane, VTOL, rover, sub),
- a specific vehicle type (for example a traditional helicopter),
- firmwares it is hidden on,
- whether it configures the companion agent instead of the flight controller.
Next steps
Parameters
Search and edit every parameter.
MAVLink signing
Sign the link once the flight controller is configured.