

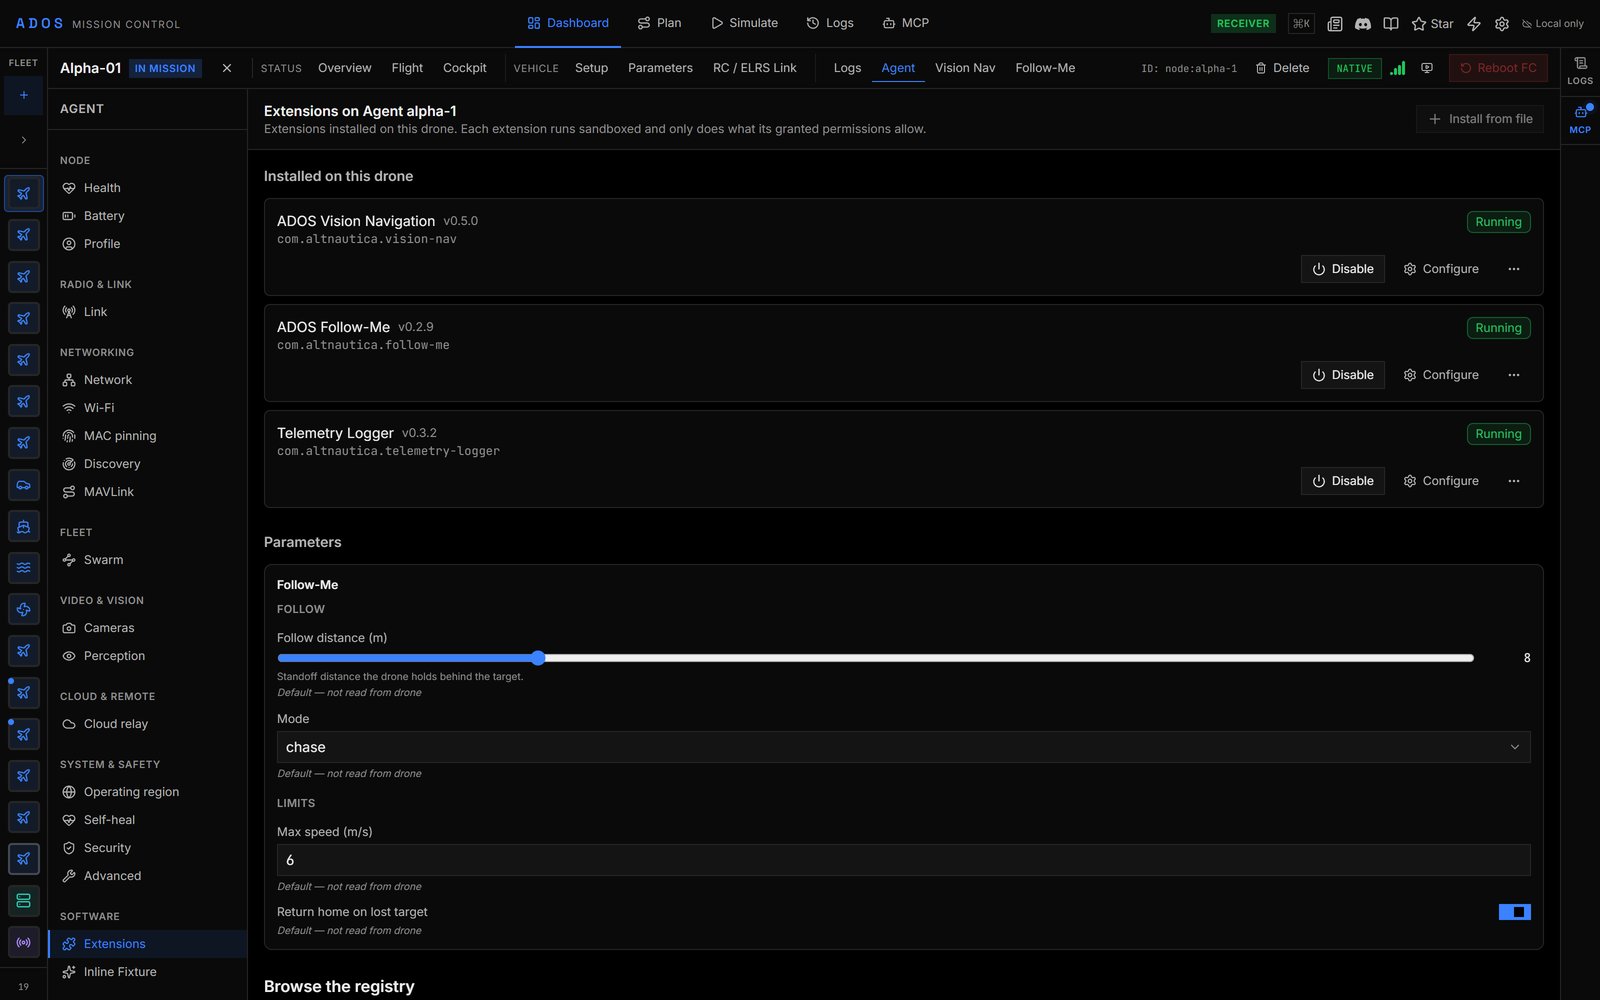
A drone's Extensions page with three installed extensions and their parameters.
Where to install
Open the node, go to Agent, and under Software click Extensions. The page, titled Extensions on and the node’s name, has:- Installed on this drone: every extension on this node, with its status (Running, Enabled, Disabled, Crashed or Installed) and its actions.
- The list of available extensions from the registry, each with an Install button.
- Install extension on this drone and Install from file, for a signed
.adosplugon your computer.
Install sources and transport
You don’t pick the transport; the dialog does, and names it while it installs (“LAN direct” or “cloud relay”).
Review and install
Mission Control opens one review page before anything reaches the node. It shows:- the extension’s name, id, version and description;
- the publisher, the signer and the trust badge (Altnautica, Verified or Community);
- compatibility with this node’s agent version, board and profile;
- the requested permissions, grouped, with a count;
- the flight controller parameters the extension expects and what it contributes to Mission Control;
- its resource impact.
Enable, configure and remove
Each installed extension’s row has:- Enable or Disable, to start or stop it on the node.
- Configure, which opens the extension’s detail page with its Overview, Permissions and Events tabs.
- View permissions, which opens the Permissions tab, where you can revoke a grant. The extension gets
capability_deniedthe next time it uses that capability. - Uninstall, in the row’s menu. It asks “Uninstall this extension?” and clears the extension’s data on that node.
Updates
When a newer version is available, the row shows Update available. A major version bump, new permissions or a board mismatch needs your review before it installs. The update settings show the current and latest versions, whether auto-update is on and any version pin. Auto-update and pins are set on the node withados plugin auto-update and ados plugin pin; see the Plugin CLI reference.
Where an extension runs
- Mission Control only: the extension loads as an iframe in Mission Control and never touches the node.
- Agent and Mission Control: the agent half runs as its own sandboxed unit on the node; the Mission Control half loads as an iframe and talks to it through the plugin host.
- Agent only: the extension runs on the node and contributes no panels.
Install across a fleet
There is no fleet-wide install. Install per node, from each node’s Extensions page or through Settings → Extensions and Install on a node….Next steps
Extensions catalog
The first-party extensions you can install.
Extensions on the agent
The CLI, signatures, permissions and isolation on the node.
Your first plugin
Write your own extension.